
Accessing Contracts
1. If you have been granted the appropriate permissions (Contract Management Viewer or Admin), the Contracts icon will appear on your left navigation menu.

2. Select the Contracts icon
Creating a Contract
- Select the +Add Contract button in the top right hand corner of the screen

- Select the appropriate Vendor if the Vendor you wish to assign to the contract has already been created. If not, select the +New Vendor button to create a new vendor.

- Enter Vendor name
- Select +Create
- Vendor name will appear in gray font under the Contract Name field
- Begin entering the following Contract Information

- Enter Contract Name
- Select a Contract Location (who is the responsible party)
- Unselect the Auto Renew check box if the contract is on auto renew
- Enter the contract Start and End Dates
- Select payment Net Term type from drop down
- Select Billing Cycle
- Enter Total Contract Cost
- Select +Create to save the basic contract details.
- Select +Associate Products with Contracts button to begin adding costs associated with software spending.

- Type the name of the software application in the search bar to search your Directory.
- Select the Product to add the line item costs.
If the software application is NOT found, it will need to be added to a Directory before it can be associated with a contract.
Entering Product Cost Information
- Complete the Products and Cost line information

- Select Purchase Type
- Select the Location associated with the spend
- Select Start and End Date
- Enter Total Cost for the Purchase Type
- Enter Quantity for amount purchased
- Add any notes necessary
- Select +Create
- Select +Add Line Item to add more costs associated with the selected Product

The Products and Cost section of each contract must be completed to populate Total Products with Spend, Product Summary Report, and Products with Most Spend. These reports and displays on the Contract Management Dashboard will display as empty until this data is added.
Entering Additional Cost Information
- Add Additional Costs Line Items (optional)
- Select Purchase Type
- Select the Location associated with the spend
- Select Start and End Date
- Enter Total Cost for the Purchase Type
- Enter Quantity for amount purchased
- Add any notes necessary
- Select +Create
- Select +Add Line Item to add more Additional Cost line items
Line Items created under Additional Costs are NOT calculated into the Product costs reports for Product Summary Report and Products with Most Spend report. Additional Costs are for the purpose of capturing one time, non-recurring costs.
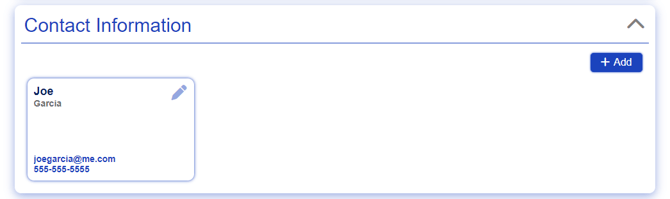
Entering Contact Information
- Add Contact Information

- If the contact already exists, find contact name and select +Add. If no contacts exist, select +Create Contact and enter Contact Details

-
- Contact Name
- Contact Title
- Contact Email Address
- Contact Phone Number
- Select +Create
- Continue creating contacts as needed
-
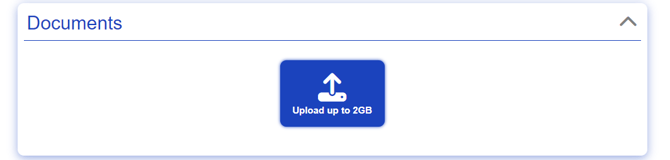
Adding Documents
-
- Select the blue Upload button
- Select File to upload
- Enter caption (Optional)
- Select +Create

Adding Notes to Contracts
Notes is a single textbox that can be added onto by anyone with the Can Manage Contracts permission.
- At the bottom of the contract, you will find an area called Notes

- Enter your note.
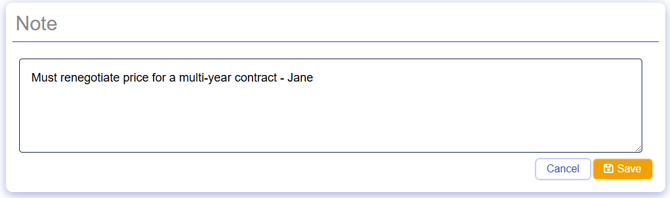
- Save your note.
If you'd like to add a note of your own to that field, but see another note present that you would like to keep, use your enter key to enter your note on a different line.
- Select the edit pen next to the note.

- Press the enter button until you are on a new line in the textbox.
- Type your note.
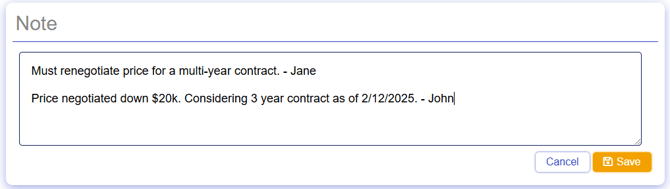
- Save your note.