
Permissions Prerequisite: To customize filters, the TMS user must have the "Can Manage Filters" permission assigned.
Creating Filter Groups
- Select the Settings icon at the bottom of the left navigation bar
- Select the Filters card

- To create a new filter group, select the button in the top right corner labeled "Create Filter Group"

- Enter the Filter Group name

- Select a color for the fill of the filter pill and the color for the text. These color selections will apply to all filters within that group. You can see a sample of the filter based on your color choices on the right-hand side.
- Select Save
Filter group colors can be changed at any time. Any changes made to filter group name and/or colors will immediately apply to all existing appearances of those filters on product profiles.
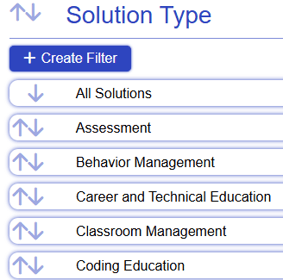
Creating Filters within Filter Groups
- Expand the filter group to which you wish you add filters.

- Select + Create Filter.
- Enter the desired filter name.

- If desired, re-order the filters using the arrows or the purple Alphabetize button.
- Select Save.
Editing Filter Groups and Filters
Reordering Filter Groups or Filters
If you desire to adjust the order of your filer groups, move the filter groups using the arrows on the left-hand side of the filter list.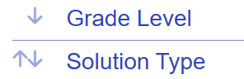
If you desire to adjust the order of the filters within a given filter group, expand the filter group and move the filters using the arrows on the left-hand side of the containers.
Editing an Existing Filter Group or Filter
- Expand the filter group you wish you edit
- Select the edit pen for the element you wish you edit

- Edit the name and/or colors of the filter group or filter
- Save your changes
Deleting Filter Groups and Filters
- Expand the filter group you wish you delete from
- Select the delete icon for either the filter group or filter you wish you remove

- Confirm delete or cancel your selection if you are not sure

